

For most standard shower systems, yes — replacing a shower hose is a straightforward DIY task that takes about 10 minutes and requires only basic tools. You will need a new shower hose, new washers, a soft cloth, and possibly a pair of pliers. You do not need to hire a plumber for this job. Replacement hoses are inexpensive and widely available in stores or online.
This guide was reviewed by a licensed plumber with over 10 years of experience in residential plumbing. The original content was provided by GONGGONG, a hose manufacturer. We have edited it for objectivity and added independent references where possible. This article is for general guidance only — if your shower system has non-standard threads or you are unsure about any step, consult a professional.
Key Takeaways
- You can replace the shower hose yourself in about 10 minutes using only basic tools.
- Always shut off the water supply and open a faucet to release pressure before starting.
- Use new washers and hand-tighten the connections first, then tighten with a wrench no more than a quarter-turn to avoid damaging threads or crushing the washer.
- If the fittings are rusty, soak them in white vinegar overnight before attempting removal.
- Choose a hose that is compatible with your shower setup and of the appropriate length — measure the old hose and select a length that exceeds the height of the tallest user by 100–300 mm.
Step-by-Step Guide to Replace a Shower Hose
Swapping out a shower hose is a fast DIY task. You can do it yourself without paying a plumber. It takes about 10 minutes and only needs basic tools.
Prepare and Remove the Old Hose
Proper preparation helps avoid mistakes and streamlines the process. Before starting, dry the shower area — a wet, slippery floor is unsafe. Shut off the water supply valve and open the shower faucet to release any residual pressure. This prevents accidental leaks and makes the job cleaner.
Unscrew the old hose from both the showerhead and the shower unit by turning it counter-clockwise. Most connections can be loosened by hand; pliers are only needed if a fitting is stuck. If a fitting shows signs of rust, soak it in white vinegar overnight to dissolve mineral deposits. Wrap masking tape around the jaws of the pliers to avoid scratching the chrome finish.
Take a photo of the original connections before removal. This helps you reassemble the new hose correctly. Hoses are typically replaced due to faulty fittings, leaks, rust spots, or damage to the outer metal coil. Poor-quality materials can accelerate these issues. A leaking hose not only wastes water but also impairs performance.
Install and Test the New Hose
Insert the new washer into the fitting. Make sure it sits flat in the groove and is not twisted or overlapping. Screw on both ends of the new shower hose and tighten the connections by hand. Connect the end attached to the shower fixture first, then the end connecting to the showerhead.
Next, perform a test. Turn on the water supply and check both connection points for leaks. Wipe the connections with a dry cloth and watch for water droplets for about 30 seconds. Minor dripping usually indicates a loose connection or a damaged washer.
Be careful not to overtighten. Excessive force can damage the threads or crush the internal washer. Signs of a damaged washer include cracking, hardening, or flattening. Overtightening can also strip threads or crack the brass nut. The correct method is to tighten by hand first, then use a wrench to turn it no more than a quarter-turn further. According to EN 1113, the tightening torque for shower hose connections should not exceed 5 N·m. If a leak persists, it is usually due to a damaged or missing washer rather than insufficient tightening. Never tighten connections while the water is running.
For connections that are difficult to loosen, apply steady, even pressure at the base of the connection. Avoid sudden, forceful movements that could bend or damage the fixture. After soaking in vinegar, try removing it by hand — the vinegar should have softened any rust.
If the old hose is severely corroded or the fitting is damaged, stop and call a professional plumber. Forcing a damaged fitting can cause permanent damage to the shower unit.
Following this guide will help you install the hose correctly. A properly installed shower hose will remain in good working condition for years.
Choosing a Hose and Fixing Leaks When Changing a Shower Hose
Pick a Universal Fit and Right Length
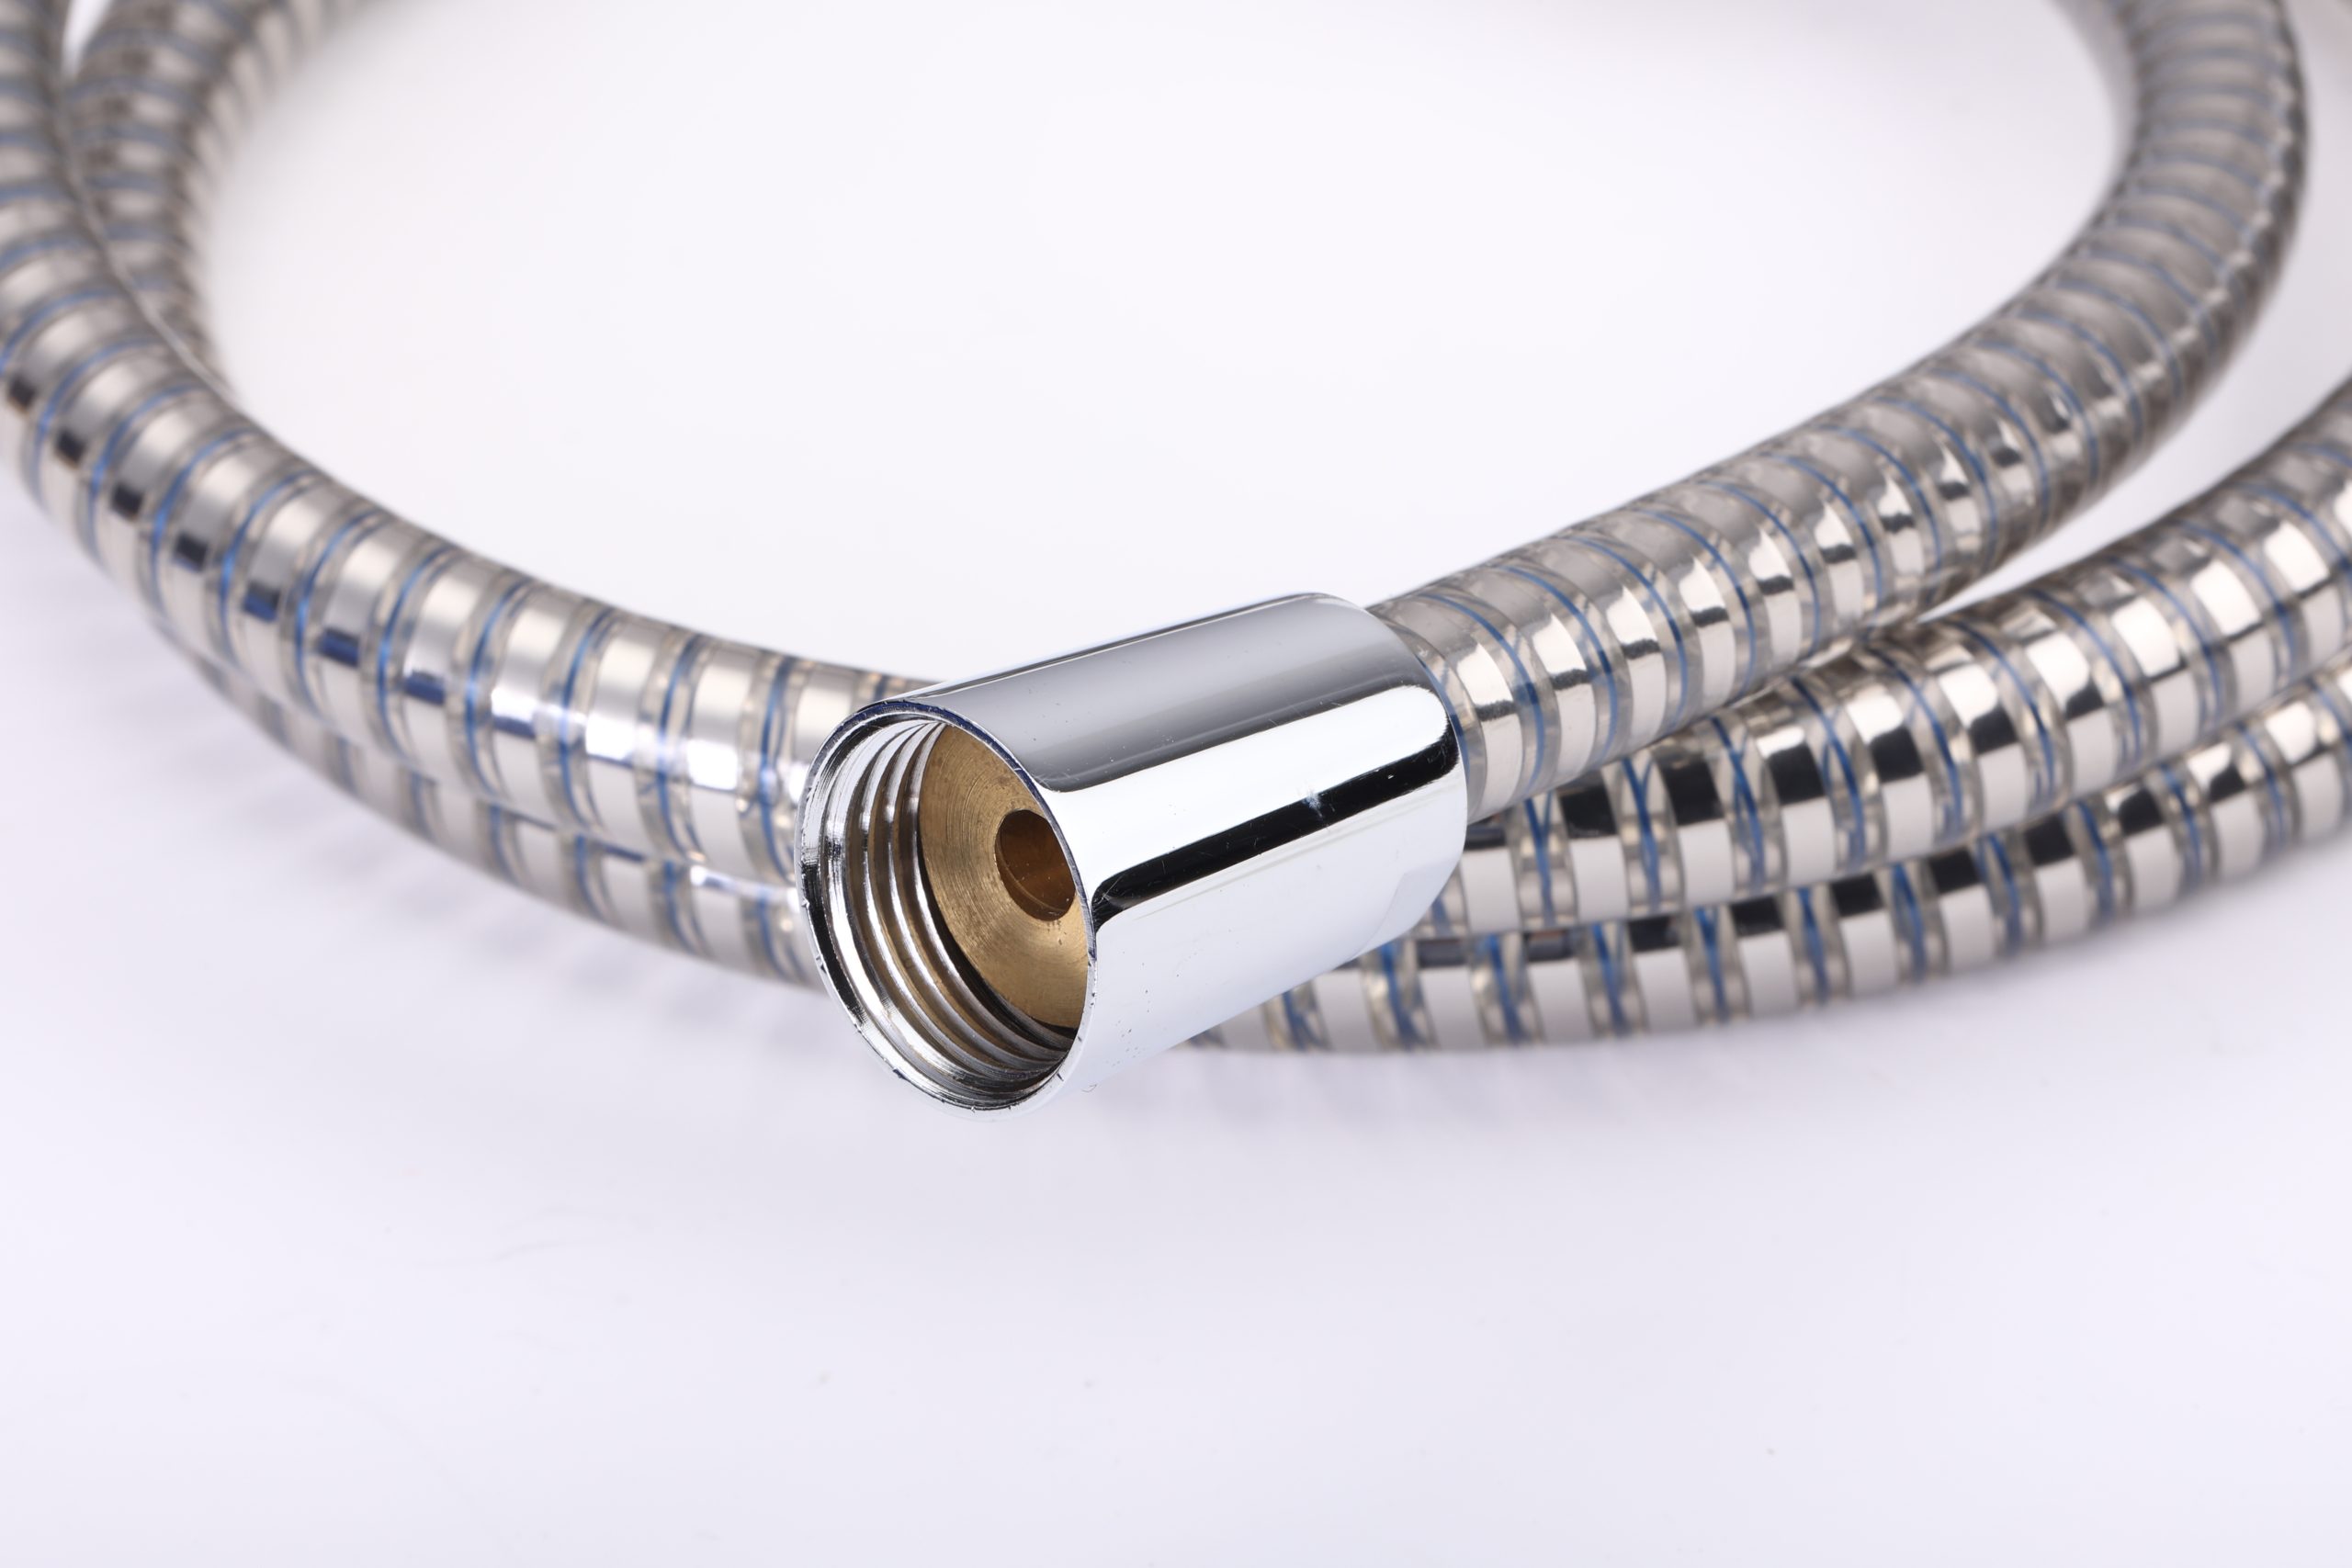
Not all shower hoses are compatible with every shower fixture. Most shower faucets use 1/2-inch threads, while 3/4-inch threads are less common. “1/2-inch” is a nominal size, not an exact measurement. For example, the outer diameter of a 1/2 NPT thread is approximately 0.840 inches, while G1/2 (BSP parallel thread) has different dimensions. When dealing with non-standard threads, some universal hoses may require an adapter. Thread adapters, swivel adapters, and quick-connect fittings can resolve most size mismatches. If you are unsure, take the old hose to a hardware store for comparison.
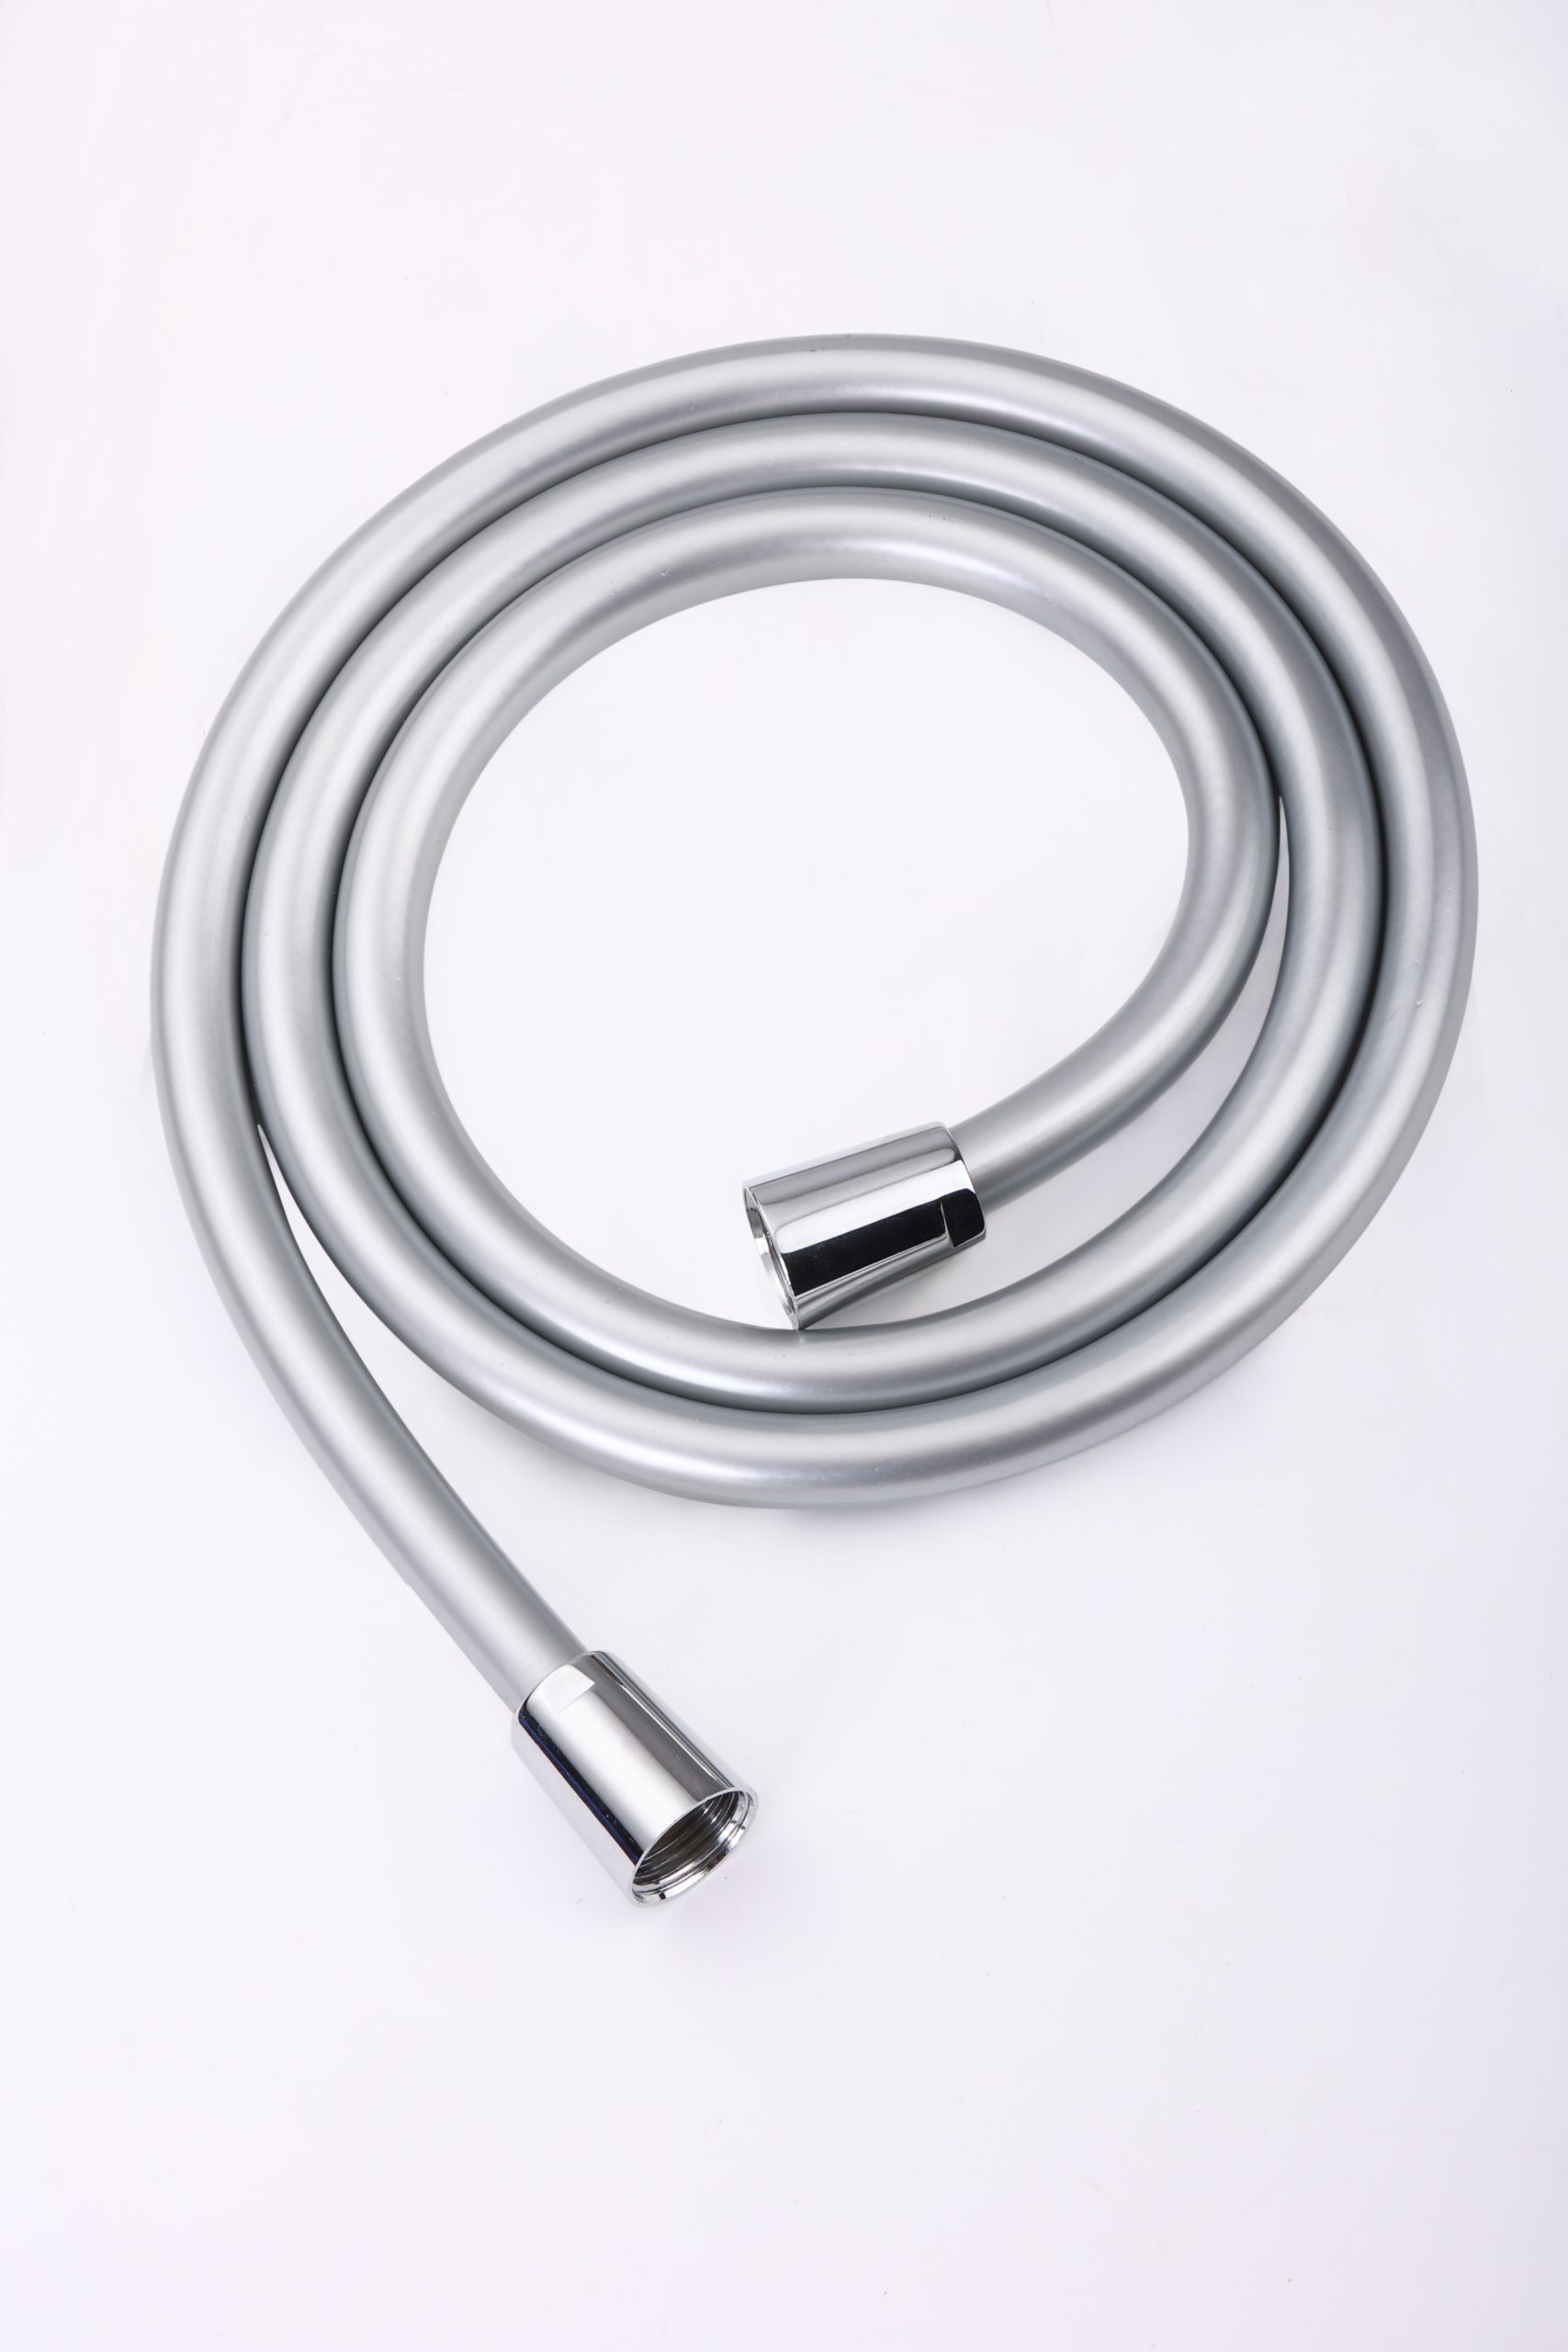
Hose length is equally important. Measure the old hose by stretching it straight and measuring from the inside of one fitting to the inside of the other — do not include the fittings themselves. Then choose a length that exceeds the height of the tallest household member by 100 to 300 mm.
| Shower Hose Length | Recommended Use Case | Benefit |
|---|---|---|
| 1.25 m | Small shower stalls or bathtubs | Prevents extra length that may tangle or pile up |
| 1.60 m / 1.75 m | Most households | Ideal size giving plenty of room to move while showering |
| 2.00 m | Taller users or showering while standing in a bathtub | Gives enough reach even when the faucet sits low |
For users over 1.9 m tall, choose a 2.0 m or longer hose. Before buying, confirm that both ends of the hose have 1/2-inch female threads. If one end is male, you need a different model.
GONGGONG has been manufacturing braided and flexible hose systems since 2000 and launched its “GG” brand for the high-end bathroom market in 2007. The company offers customizable lengths and diameters for its braided hoses. Material options range from stainless steel braided hoses — balancing strength with rust resistance — to polymer or nylon hoses that offer flexibility and cost-effectiveness. Inner tube materials include EPDM or PEX for hot and cold water applications, as well as PTFE linings for high-purity requirements. Double-layered stainless steel braided hoses are designed to withstand high pressure, preventing bursts and leaks. GONGGONG holds certifications including WRAS, ACS, KTW/W270, WaterMark, ISO 9001, and CE. Their products are used by companies such as TOTO. For projects involving multiple bathrooms or commercial applications, bulk purchasing or custom lengths from a manufacturer can reduce costs. This paragraph is provided by the manufacturer for reference.
Troubleshoot Leaks and Kinks
Newly installed shower hoses may leak immediately due to loose connections, damaged washers, or improper installation. The hose nut might not be fully tightened, or the sealing washer may have failed. Replacing an aged or cracked washer is usually a cost-effective fix. However, avoid overtightening, which can damage threads and the washer itself.
If the leak occurs at the connection point, it is usually a washer issue. If water seeps from the middle of the hose, replace the entire hose — do not attempt to repair it.
Kinking can shorten a hose’s lifespan. Hoses with internal anti-kink structures, shape-retention capabilities, and reinforced outer layers resist twisting and excessive bending. Durable hoses often use reinforced stainless steel, anti-kink polymers, or dual-layer construction. Fittings made of brass or stainless steel with precision threading ensure a secure connection without excessive force. If a hose is damaged by repeated kinking, replace it rather than trying to repair it. Avoid wrapping the hose around the showerhead; let it hang naturally.
If the hose shows bulges or the outer braid is damaged, replace it immediately — continued use may cause a burst.
Replacing a shower hose is a quick and simple DIY task. Installation takes about ten minutes and requires only a washer and no special tools. Ensuring a proper seal prevents leakage. For commercial applications or multi-bathroom setups, bulk purchasing from reputable manufacturers like GONGGONG offers a durable and economical solution.
FAQ
Does replacing a shower hose require any special tools?
No special tools are required. A new shower hose, a replacement washer, and a soft cloth are all you need for most of the work. Pliers are only necessary if a fitting is stuck. Most connections can be loosened by hand, and the entire process takes less than 10 minutes. If you are unsure about any step, watch the manufacturer’s official installation video or consult a professional plumber.
How often should someone replace a shower hose?
High-quality braided shower hoses can last for several years. According to WRAS certification standards, a quality braided hose under normal use can last 5 years or more. Replace the hose promptly if you notice leakage, rust, or wear on the outer braided layer. When replacing the hose, also check the showerhead and faucet seals — old seals can cause new hoses to leak.
Can a washer fix a leaking shower hose?
Usually, yes. Most dripping at the connection point is caused by a worn-out or cracked washer. Replacing this small part costs far less than replacing the entire hose, and installation takes just a few seconds. Make sure the new washer is the correct size and sits flat in the fitting.
This article is for general information only. Always follow the product instructions and local plumbing codes.