


You can easily attach hose shower setups to your current system by using a 3-way valve. Homeowners can add a handheld shower head to an existing shower without hiring a plumber. This tool makes cleaning, washing pets, and reaching hard-to-clean areas much easier, making pet bathing significantly faster. Utilizing a high-quality GONGGONG Flexible Braided Hose ensures exceptional durability, pressure resistance, and smooth performance for your new fixture. A simple step-by-step guide helps homeowners effortlessly complete the installation of a handheld shower head paired with a reliable flexible shower hose.
Key Takeaways
- You can easily add a handheld shower hose yourself without paying a professional plumber.
- A 3-way diverter valve allows you to easily change water flow between two shower heads.
- Plumber tape and correct rubber washers stop leaks and keep your water pressure strong.
How to Attach Hose Shower to Current Setup

Choosing a Handheld Hose Diverter
Homeowners often add a hose shower unit to upgrade their bathroom without replacing the whole fixture. A 3-way diverter valve easily screws onto a normal 1/2-inch pipe. This sturdy brass valve uses a small lever to control water flow. Users can send water to the main head, run a hand held shower head, or switch between both.
When you add a handheld shower head, choosing good parts is very important. Great brands like GONGGONG make strong flexible hose options with PEX inner tubes and 304 stainless steel covers. These durable parts easily handle high water pressure. A simple wall bracket holds the handheld sprayer safely in place. Picking solid components guarantees great water flow for every single shower. Homeowners can quickly pick the best handheld shower head kit to improve their current bathroom setup.
Preparing Tools and Plumbing Tape
Before you begin installing anything, get a few simple tools ready for your hand held shower head project. You will need thick PTFE plumber tape, an adjustable wrench, and a soft cloth for the new handheld attachment. The cloth protects the shiny metal finish from ugly wrench marks. Homeowners should clean off any dirt from the old shower pipe before adding the new valve.
Wrapping the threads correctly keeps water from leaking under high pressure. Wrap the plumber tape clockwise around all open threads three full times. This creates a tight seal before you attach a handheld shower head to your pipe. Carefully hand-tighten plastic pieces so they do not snap, and use a wrench lightly on metal parts. Users follow easy steps to finish this quick shower head replacement project. Securing the shower head hose correctly lets families enjoy their upgraded existing shower every day.
Steps to Install the Shower Head Hose
Removing Old Parts and Sealing Threads
Homeowners can add a handheld shower head to an existing shower setup without replacing their plumbing. Follow this easy step-by-step guide to install a handheld shower head correctly.
- Turn off the water supply to prevent unexpected leaks during the process.
- Unscrew your original shower head by turning it counterclockwise by hand.
- Use an adjustable wrench cushioned with a soft cloth if the old fixture feels stuck.
- Wipe the male threads of the shower arm with a rag to clean off old tape, mineral deposits, and dirt debris.
- Wrap new plumber’s tape clockwise around the shower arm threads two to four times, keeping the tape taut.
Connecting the Shower Head Hose Unit
This seamless installation process creates a versatile dual-head setup. High-quality parts ensure reliable performance whenever you use your hand held shower head.
- Screw the 3-way diverter valve onto the shower arm threads by hand.
- Tighten the valve connection with a slight wrench turn, taking care not to overtighten and crack the fitting.
- Re-attach the fixed existing shower head onto the top outlet port of the diverter valve.
- Mount the wall bracket or shower arm bracket into position to hold your new handheld unit safely.
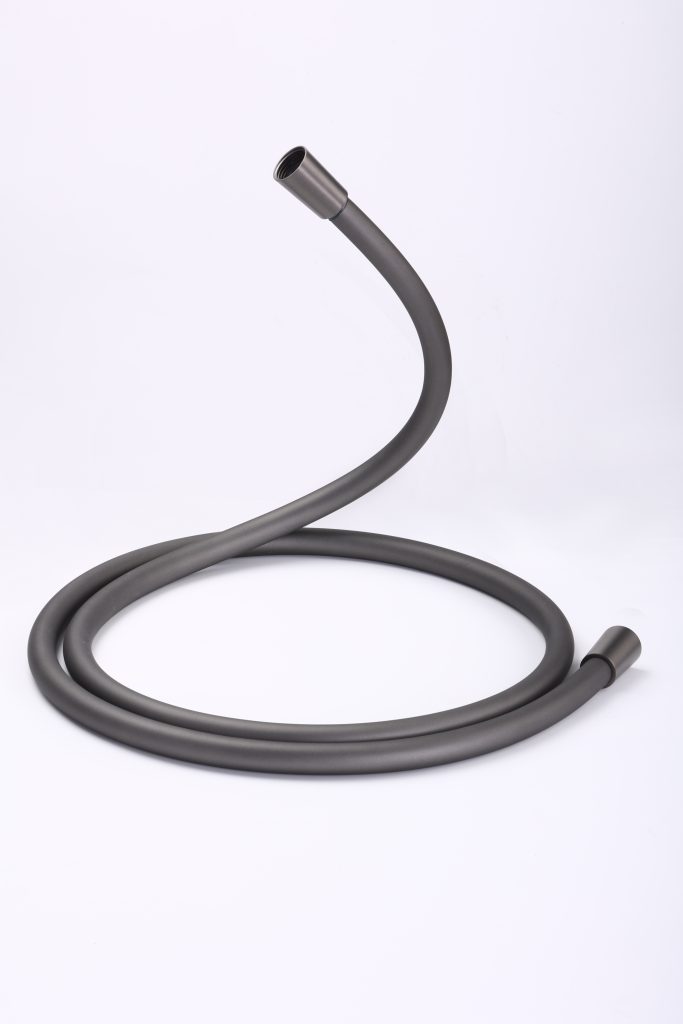
- Check that rubber washers sit flat inside both ends of your GONGGONG flexible braided hose.
- Screw the hex-nut end of the hose onto the remaining diverter valve outlet.
- Attach the smooth cone-shaped nut end of the shower head hose directly to your handheld unit.
- Hand-tighten all individual fittings first to prevent stripped threads before applying light wrench pressure.
Hand tightening all joints before using tools protects delicate threads from stripping and prevents crushed rubber washers.
Now you can enjoy your upgraded existing shower system with total peace of mind. The flexible hose setup makes cleaning the enclosure and washing pets simple. Turning the valve lever easily directs water between the main shower fixture and the hand held shower head for maximum comfort. Homeowners can install this functional handheld feature in less than thirty minutes. You will love how easy it is to attach hose shower fittings when you want to upgrade an existing shower room.
Testing the Handheld Shower Head System
Checking for Leaks Under Pressure
Homeowners must run normal household water pressure to check every single connection. Water flows through the diverter valve to the handheld shower head during this basic test. Let the water flow settle for one full minute after switching settings. Users collect any unexpected drip from the spout for one full minute. A drip rate up to 0.1 gpm (380 mL/min) meets standard pre-life-cycle allowances. Readings between 0.1 and 0.2 gpm (380–760 mL/min) match post-life-cycle allowances, while anything over 0.2 gpm (760 mL/min) indicates a system defect.
Common drip areas during operation include:
| Handheld leak point | How users identify it |
|---|---|
| Main connection meets wall outlet | Drip at the connection while the shower is running |
| Pipe connection meets shower head | Drip at the attachment point while the shower is running |
| Unit sits in holder bracket | Drip at the holder or swivel while the shower is running |
Testing every setting ensures full flow reaches the chosen handheld unit without crossover.
Fixing Loose Diverter Connections
A loose connection causes an unwanted leak around the diverter or pipe fittings. Homeowners quickly resolve this issue without removing the entire arm assembly:
- Turn the hand held shower head counterclockwise to disconnect it from the arm.
- Soak stuck connections in equal parts vinegar and hot water for 30 minutes to dissolve mineral buildup.
- Inspect and replace any flattened or cracked rubber washer inside the swivel joint.
- Clean old tape, wrap new plumber’s tape 4 to 5 times clockwise around threads, and reattach the handheld shower head.
Homeowners follow these steps to keep their dual shower setup functioning smoothly. Proper maintenance protects water pressure while operating the handheld shower head daily.
Homeowners can quickly install a budget-friendly shower upgrade today. Anyone can add a handheld shower head to an existing shower without plumber assistance. Certified GONGGONG braided hose lines guarantee leak-free shower operation. Users easily direct shower water to the secondary handheld shower head fitting. Families will definitely love using their dual existing shower system daily.
FAQ
Can homeowners install a handheld attachment without a plumber?
Yes. You can easily attach a diverter valve to your current shower pipe with basic tools. This quick update takes under thirty minutes to complete.
Will adding a hand held shower head reduce water pressure?
Good valves keep water flowing smoothly to your main shower fixture. A flexible hose stops kinks, which keeps your water pressure strong while using the sprayer.
Do flexible hoses fit every existing shower setup?
Most flexible shower hose kits fit a standard half-inch pipe connection. Users can connect the valve fast to finish their versatile dual shower setup.