
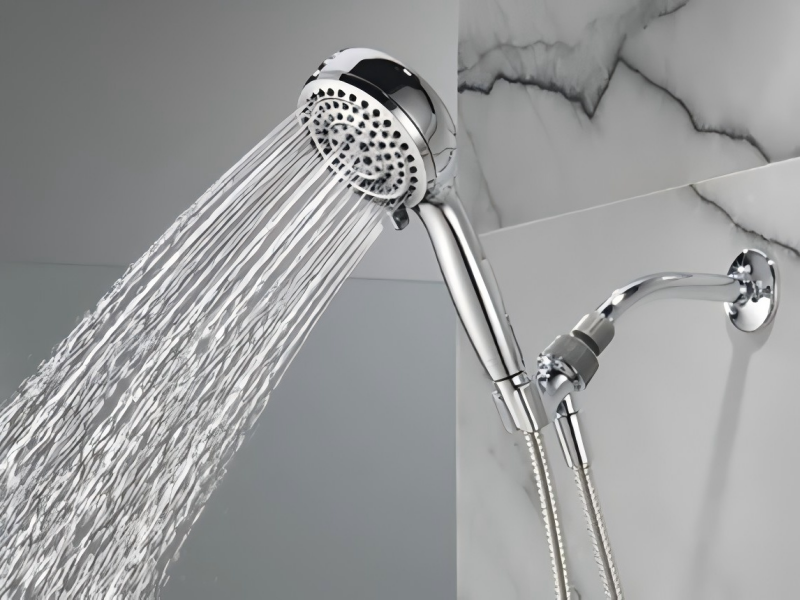
DIY shower head installation often comes with avoidable errors: forgetting to shut off the water supply, skipping thread tape, over-tightening connections or using improper tools. These oversights cause persistent leaks, water damage and mold, leading to expensive repairs down the line. Most issues can be fixed easily with standard installation practices.
Key Takeaways
- Turn off the water supply before disassembly to prevent flooding.
- Wrap plumber’s tape around threaded joints to create a watertight seal.
- Test for leaks immediately after finishing installation to catch issues early.
Not Turning Off Water Before Shower Head Installation

Why This Mistake Happens
Most people skip this step out of haste. Some underestimate splashing water, while new homeowners cannot locate their water shutoff valve. Taking apart the fixture with water running creates messy spills and hidden wall seepage.
How to Prevent Water Damage
Shutting off the water is the mandatory first step. Uncontrolled water seeps into wall cavities, rots subflooring and triggers mold growth. Many insurance policies deny claims for damage caused by careless DIY installation. Lay towels or place a bucket under the pipe to catch residual water, and double-check no water flows from the spout before starting work.
Skipping Plumber’s Tape in Shower Head Installation
Purpose of Thread Tape
Tape fills tiny gaps between threaded pipe ends and blocks water penetration. Without it, slow drips will form at connection points over time.
Correct wrapping method: wind tape clockwise along clean threads without thick overlapping layers. For household showers, tape alone delivers sufficient sealing; thread compound paste is only needed for heavy industrial plumbing.
Always test connections for dripping after assembly to stop minor leaks from worsening.
Over-Tightening or Under-Tightening Shower Head
Signs of Over-Tightening
Cranking the shower head too hard cracks plastic or metal fittings, strips threads and snaps aging pipes. Hidden micro-cracks cause hard-to-detect wall leaks that damage building structures over years. If you need excessive force to twist the head, it is already over-tightened.
Risks of Loose Installation
Loose fittings drip continuously and may even detach during use. Best practice: hand-tighten until snug, then add a small quarter-turn with a soft-jawed wrench. Always apply Teflon tape first for full sealing.
Using Wrong Tools for Shower Head Installation
Must-Have Tool List
- New shower head
- Plumber’s Teflon tape
- Rubber sealing washers
- Adjustable soft-jaw wrench
- Cotton cloth (to protect metal finishes)
- Small brush for thread cleaning
- Ladder (for ceiling rain shower heads)
Metal pliers used without protective cloth scratch chrome finishes. Oversized wrenches split thin plastic connectors. Measure pipe thread sizes beforehand to guarantee compatible parts and avoid waste.
Not Cleaning Shower Head Arm Threads
Old tape, dirt and rust on threads stop new washers from sitting flat, breaking the waterproof seal.
Simple cleaning steps:
- Wipe threads dry with microfiber cloth and peel off leftover sealant
- Inspect for corrosion or cracked threading
- Scrub tough grime with an old toothbrush
- Fully dry threads before installing new hardware
Dirty, corroded threads guarantee slow hidden leaks behind tile walls.
Ignoring Leaks After Shower Head Installation

Simple Leak-Check Methods
- Check all joints for visible drips while running water
- Listen for constant running water when the tap is closed
- Feel surrounding walls for damp, soft drywall or mold stains
Even tiny drips waste thousands of gallons monthly and inflate water bills by $15–40. Hidden moisture weakens wall panels and ceiling plaster.
Quick Remedies for Found Leaks
- Tighten loose threaded joints gently
- Reapply fresh Teflon tape if seepage persists
- Turn off water supply and reassemble faulty connections
- Call a licensed plumber if leaks cannot be sealed
Choosing Incompatible Shower Head or Hose
Low water pressure paired with standard high-flow shower heads results in weak spray and frequent joint leaks. Low-pressure optimized shower heads boost spray strength with air injection without excess water consumption.
Quality braided shower hoses like GONGGONG eliminate connection leaks. Their key advantages:
- Crack resistance under hot and cold water cycles
- Flexible bending for easy installation
- Scratch and rust-proof outer braided shielding
Certified hoses extend the whole shower set’s service life.
Overlooking Drain Slope and Building Codes
Drainage Issues from Incorrect Slope
A flat floor traps standing water, which seeps through grout to rot the subfloor and generate mildew odor. The standard recommended slope is ¼ inch drop per foot toward the drain. Overly steep floors become slippery safety hazards.
Importance of Following Local Codes
| Regulation Type | Threshold Height | Slope Limit |
|---|---|---|
| General plumbing code | 2 inches | 1/4 in per ft standard slope |
| ADA accessible shower rules | 1.5 inches | Max 1/4 in per ft |
Non-compliant measurements lead to drainage failures and costly tile rework. Confirm local plumbing codes before laying shower bases.
Common Shower Installation Mistakes to Avoid
Quick Recap of Key Errors
Lots of people make the same mistakes when installing showers. These mistakes can cause leaks or weak water flow. Sometimes, they even damage the bathroom. The table below lists common mistakes and what happens if you do not fix them:
| Mistake | Consequence |
|---|---|
| Fitting low-flow heads to low-pressure homes | Weak spray, higher water consumption |
| Ceiling shower installation without pipe adjustments | Extra plumbing renovation fees |
| Installing shower panels without pipe inspection | Hidden pipe blockages and leaks |
| Over-tall handheld shower mounts | Awkward daily use, extra adapter costs |
| Mismatched fixture finishes | Extra replacement purchases for matching decor |
| Complex multi-setting shower controls | Complicated daily operation |
| Replacing heads without fixing original pipe leaks | Recurring seepage issues |
Finding mistakes early helps stop bigger problems. Using good hoses from trusted brands like GONGGONG helps prevent leaks. It also makes waterproofing better.
When to Call a Professional
Contact a licensed tradesman if you encounter any of the following:
- Full pipe re-routing or major plumbing modifications required
- Leaks remain after re-taping and tightening all joints
- No compatible shower head/hose fits existing pipe threads
- Water pressure stays weak after switching shower fixtures
- Visible wall mold, rotted subfloor or failed waterproofing
Professional plumbers follow local building codes and resolve complicated pipe issues efficiently, preventing long-term structural damage.
Not making common mistakes helps your shower stay leak-free. Experts say to check water pressure before you start. Seal every joint so water does not escape. Use strong metal parts for better waterproofing. Stainless steel parts last longer and need fewer repairs. Always check your work at each step. Read tips for fixing problems if you get stuck. Call a professional if you cannot fix it. This way, you can enjoy your shower without worry!