
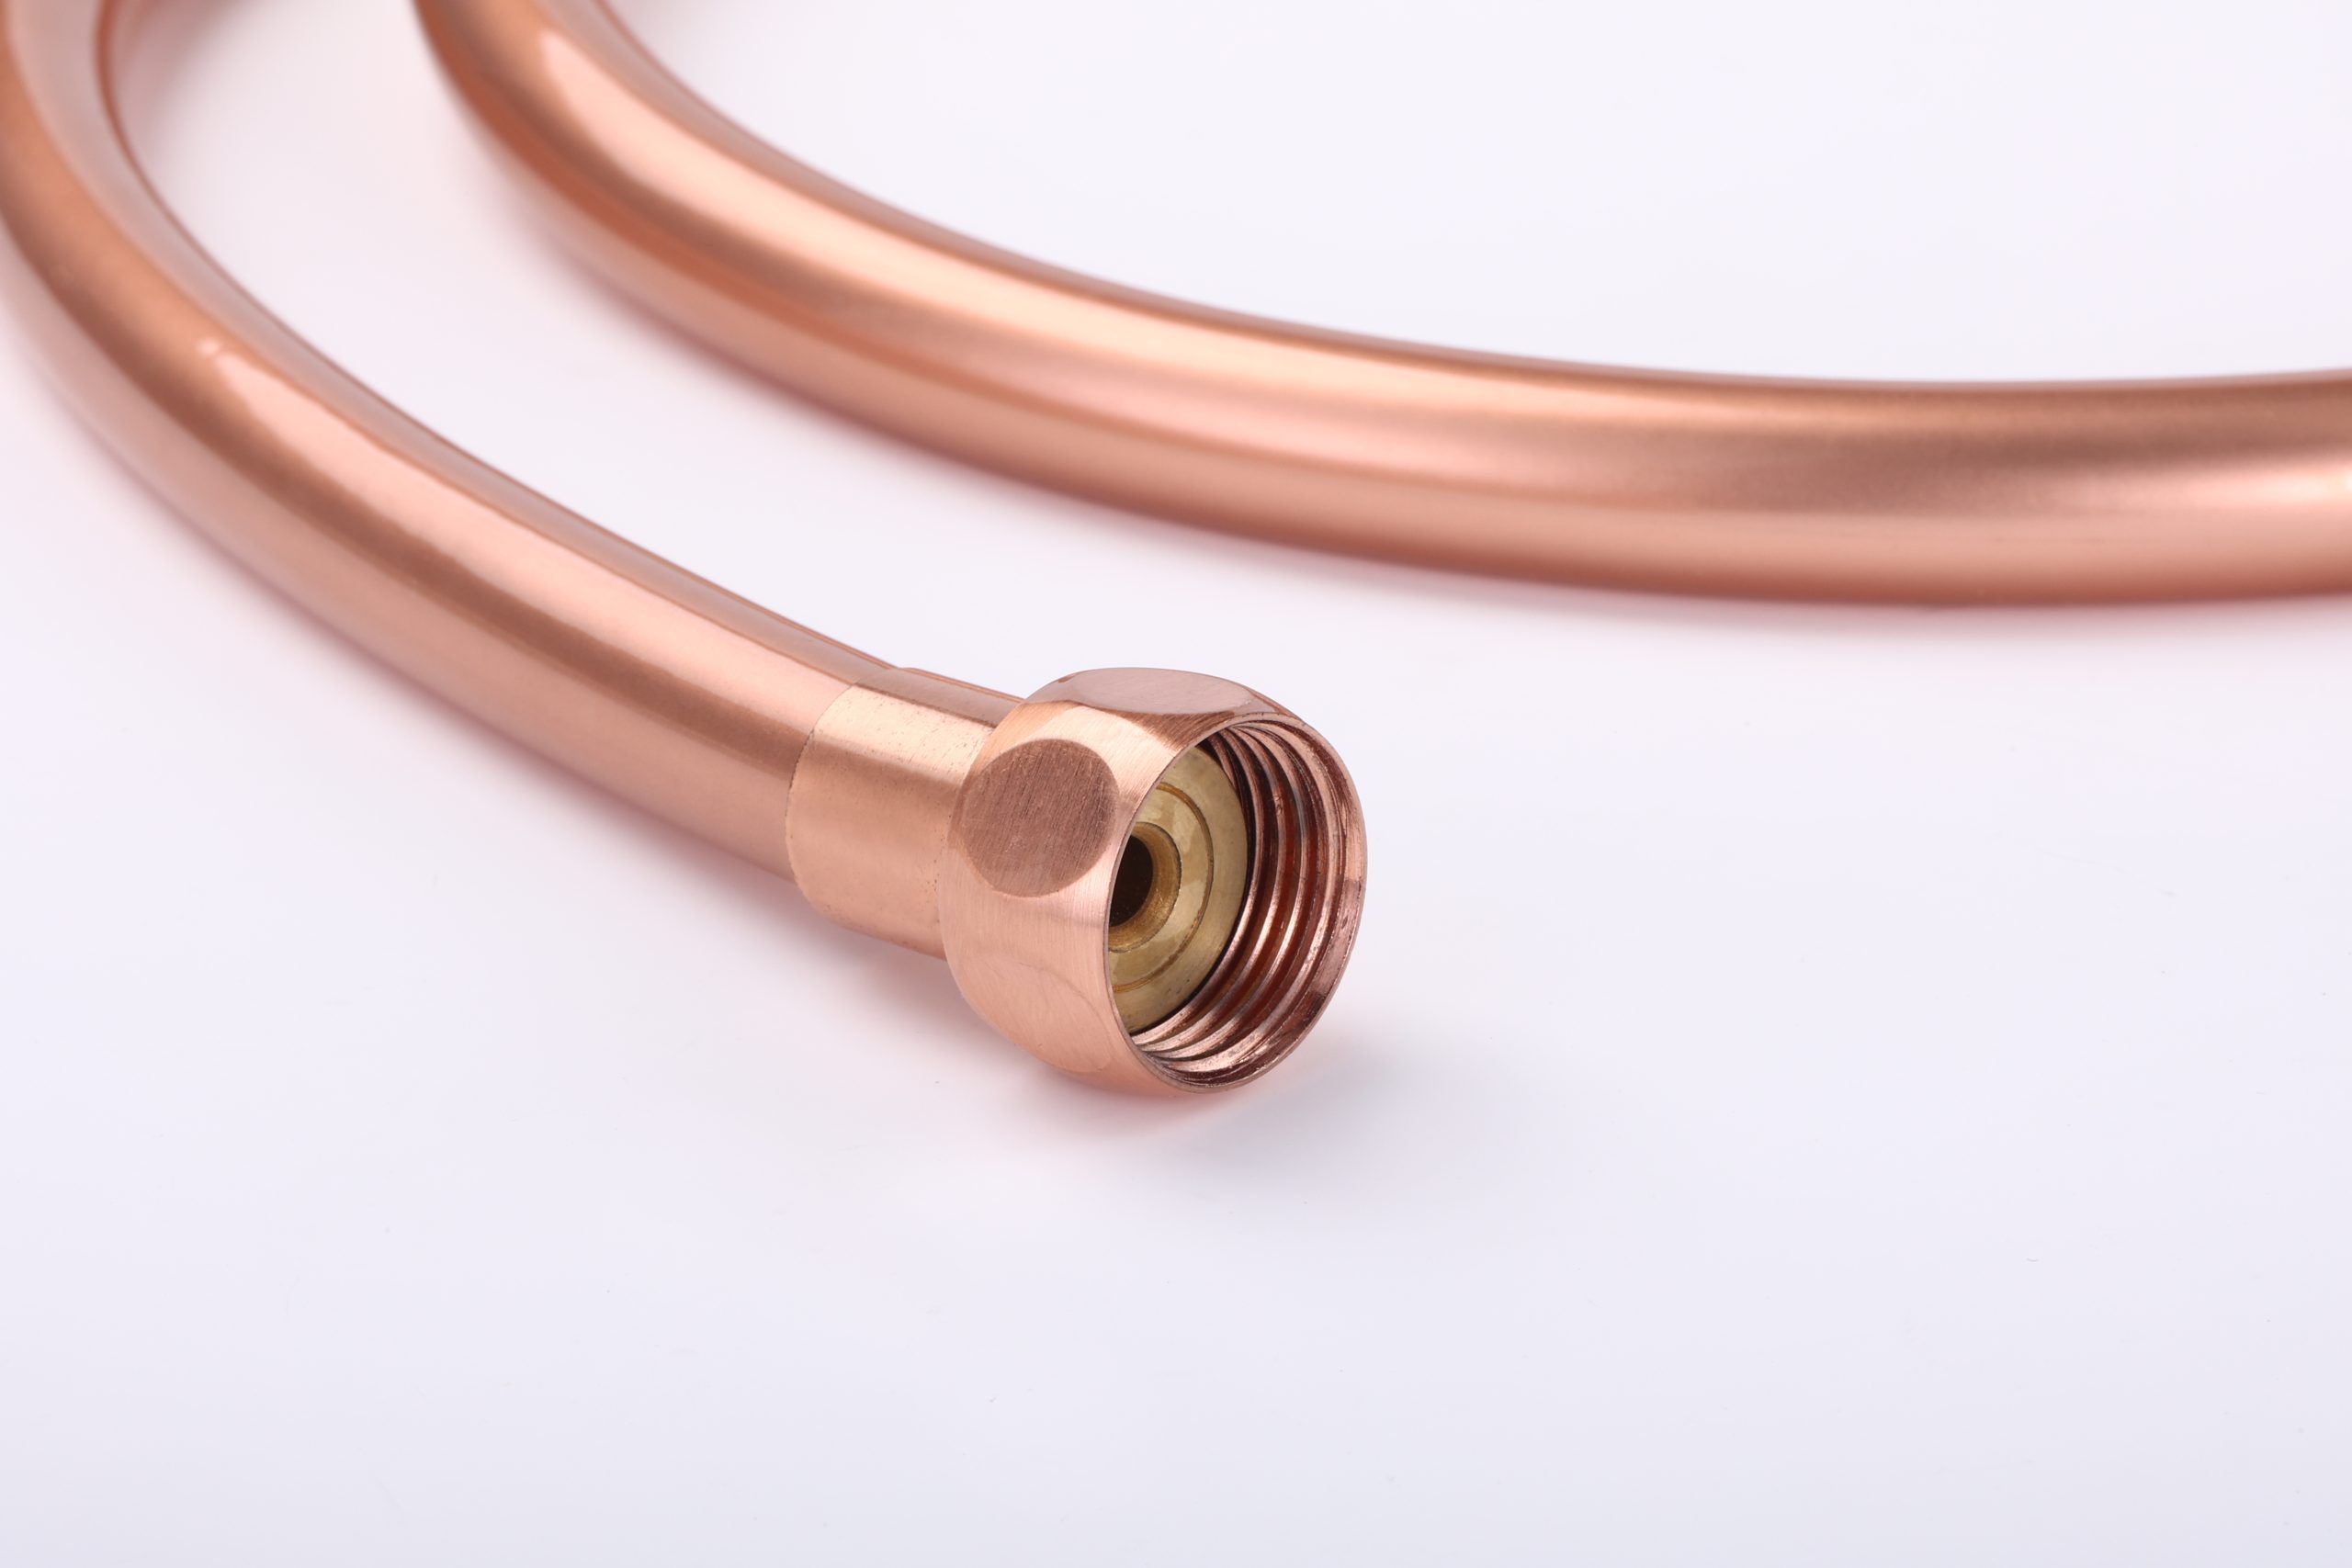
Most shower hose ends are interchangeable. If the connectors differ, the end with the conical nut should be attached to the shower head, while the end with the hexagonal nut connects to the water outlet. If both ends are identical, either end works. When installing, always tighten the nuts by hand and check for leaks.
Key Takeaways
- Connect the conical nut to the shower head and the hexagonal nut to the water outlet.
- Check the rubber washers and tighten each nut by hand to prevent leaks.
- Choose a stainless steel braided hose with an anti-kink design for a longer service life.
Identifying the Two Ends of Your Shower Hose
Conical Nut vs. Hex Nut
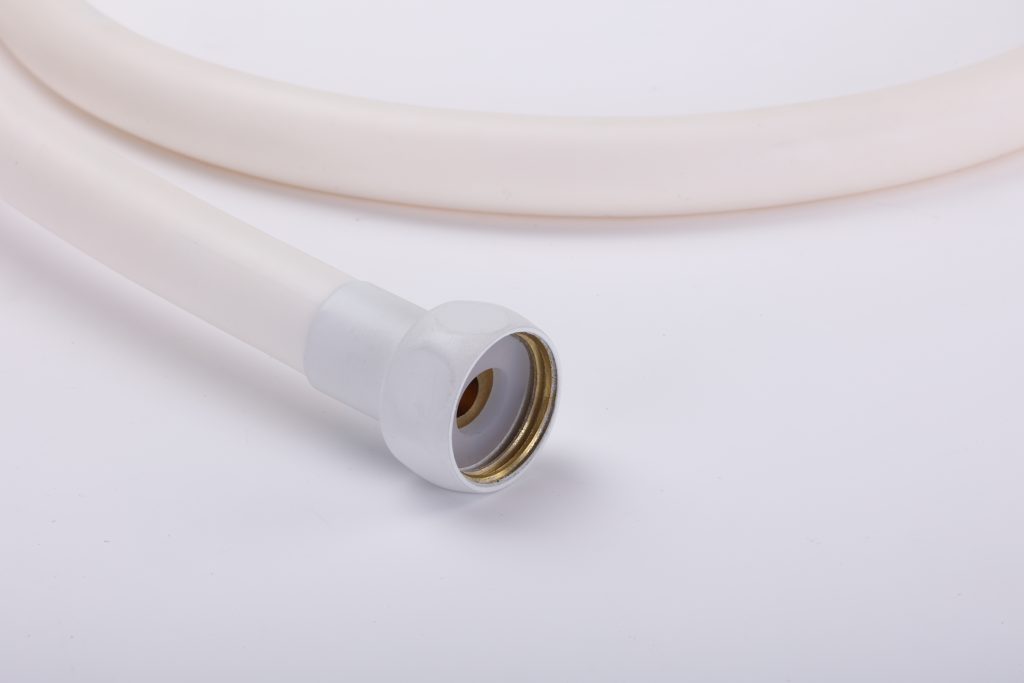
Tapered nuts narrow toward the top, making their ends appear thinner than their bases. Hex nuts feature six flat sides and a straight, cylindrical body. These shapes determine the correct orientation: the tapered nut goes to the shower head, and the hex nut goes to the water outlet.
Some models have identical connectors at both ends, meaning orientation doesn’t matter. If you see a small pre-installed washer at one end, that is usually the end meant for the shower head.
Standard Thread Sizes (G1/2 vs. NPT)
Most shower head hoses feature a G1/2 connection (also known as a 1/2-inch BSP connection). This straight thread has a major diameter of 20.955 mm and a pitch of 1.814 mm. It is compatible with virtually all residential shower heads and wall outlets.
NPT belongs to a different thread series. NPT threads have a 60° flank angle and are slightly tapered, whereas G threads have a 55° flank angle and are cylindrical. Because these two types of threads cannot form a reliable seal when mated, never mix them.
How to Attach the Shower Hose and Prevent Leaks
Step-by-Step Installation and Washer Check
Taking a moment to prepare prevents most issues. The rubber washer is what creates a watertight seal; the threads only hold the components together. If a washer is missing or worn, it will leak.
- Align the hexagonal nut with the water outlet and tighten it by hand.
- Place a washer inside the smooth, conical nut, then screw it onto the shower head clockwise.
- Hand-tighten both connections firmly. Do not use a wrench.
- Turn on the water and inspect every connection point for drips.
Hand-Tightening Tips and Common Leak Fixes
There are three primary causes of water leaks:
- Missing or worn washers: Replace them with a single new washer. Never stack multiple washers.
- Cross-threading: Start the connection by hand. Turn the fitting counter-clockwise until you feel the threads seat properly, then screw it on clockwise.
- Overtightening: Hand-tightening is sufficient. Using a wrench can deform the washer or crack the plastic components.
Choosing a High-Quality Shower Hose

Material and Construction
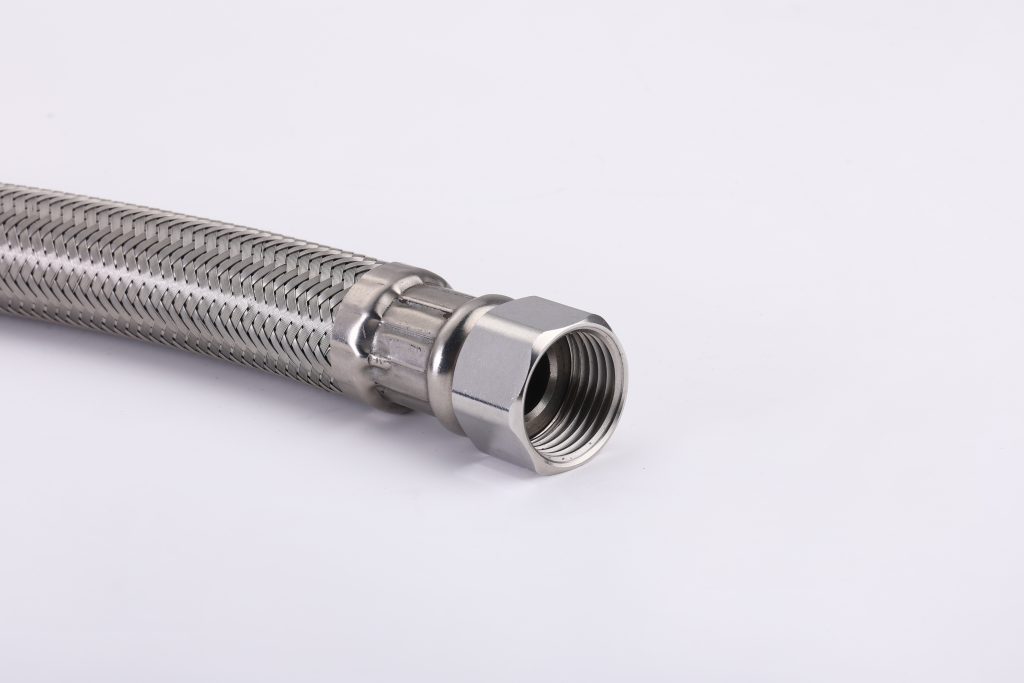
The construction of a hose determines its lifespan. A stainless braided hose provides rust resistance and can withstand high water pressure. With proper use, a stainless steel hose can last 15 to 20 years, whereas a standard plastic hose lasts only 3 to 5 years.
The inner tube is equally critical. EPDM rubber offers excellent resistance to aging, heat, and expansion, while silicone liners maintain flexibility and resist biofilm formation. The outer braided structure distributes stress across the length of the hose, protecting the inner core.
Anti-Kink and Swivel Features
Kinks cut water flow and shorten hose life. An anti-kink design stops twisting and tangling, allowing water to move freely. Braided or spiral construction resists kinks better than a plain tube.
A swivel connector adds another layer of protection. It lets the fitting rotate independently, so the flexible shower hose hangs straight instead of coiling. This allows users to move the shower head without fighting a twisted hose.
FAQ
What if both ends of the hose look the same?
Either end works in that case. You can attach one fitting to the shower head and the other to the water outlet. Matching ends remove any doubt about direction.
Will a standard shower hose fit any shower head?
Most fittings use the G1/2 thread, so a shower hose fits nearly every household shower head and wall outlet. A quick visual check of both connectors confirms the match before installation.
How tight should each nut be?
Hand-tighten only. A snug turn seats the washer and seals the joint. A wrench can deform the washer or crack plastic parts. Stop turning once the fitting feels firm.